
Product Updates
How To Bulk Add Users in DocBoss
Do you still use Excel spreadsheets as part of your documentation work? When adding users via XLS, the following fields…

Internal approval is often of interest to companies who are doing some engineering work on behalf of their customer. They want to work with their suppliers to ensure the documents are correct, prior to sending them on to their customer.
When enabled, an internal approval cycle is initiated when cards are first received by your company (from suppliers or other 3rd parties).
Cards are sent to your users (via routing), who in turn apply an internal status (similar to customer statuses). The cards are then queued for return to their source. After return, if cards have been “approved”, they continue their workflow to be sent to the stage target (generally the customer).
In order to use internal approval, the function will need to be enabled from both admin and project settings.
Before internal approval can be used on a project, the option will need to be enabled from your admin settings.
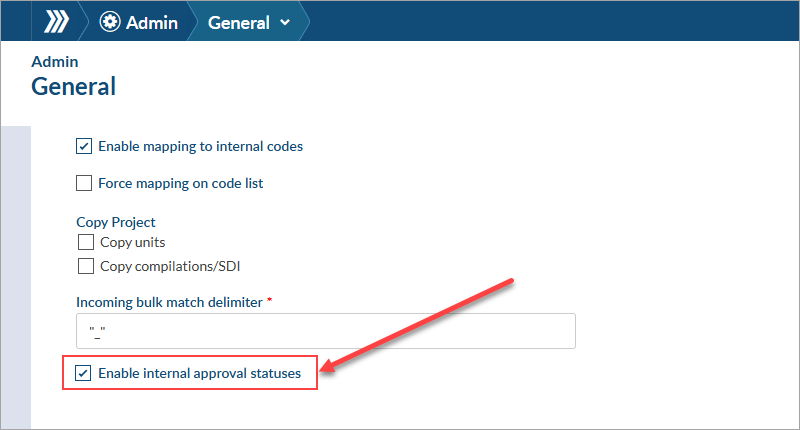
To enable internal approval, navigate to System Menu > Admin > General > Project Options. From the “Defaults” section, check the box that reads “Enable internal approval statuses.” Once checked, click save (bottom right).
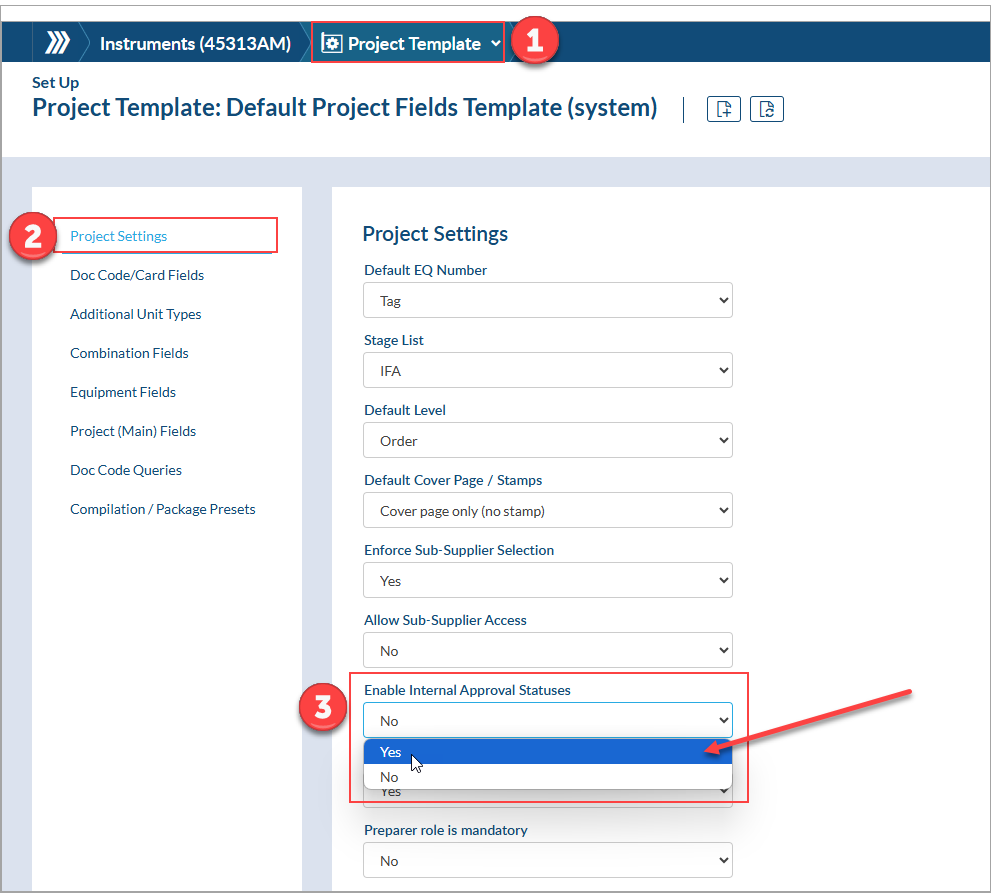
Once internal approval has been enabled from the admin level, the function can be used on projects. To enable internal approval on any given project, navigate to Project Menu > Set Up > Project Template > Project Settings. Scroll down to the “Enable Internal Approval Statuses” option and choose “Yes” from the drop-down. Once selected, the change will be auto-saved.
1. Create/Modify Internal Approval Status List
2. Enable Internal Approval on Stage List
3. Apply Internal Approval Stage List to Doc Codes
4. Internal Approval Workflow (Example)


DocBoss is the only true document control system for
suppliers. Book a quick demo to see how we help process
equipment suppliers make more profit with less pain.
Do you still use Excel spreadsheets as part of your documentation work? When adding users via XLS, the following fields…

Have you ever had the frustrating situation where you copy and paste something into a search bar and it returns…

Secondary code(s) provide the option to link a manual card to other requested doc codes when an association exists between them, or…