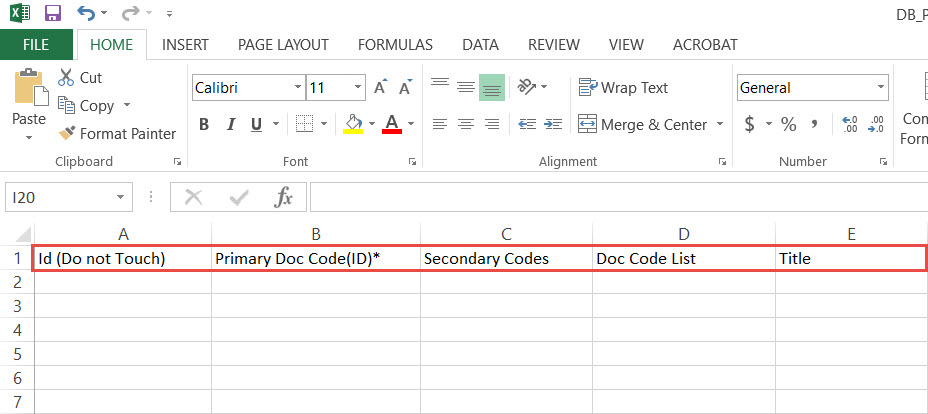
DocBoss allows users to make changes to existing data in the Card List using a CSV (excel) file. When you download the file for the first time the data can be a bit overwhelming – Don’t let that scare you!

Once ‘Add/Edit Data via CSV’ is clicked a window will open and you have the option to download the CSV file (as it currently exists) This will give you the correct column headers and will be populated with any existing data.

There are about 30 columns on the CSV download (more if you have custom columns created) Below are the descriptions of each column.
To Note:
- Column headers with the asterisk are required.
- You must include the Primary Doc Code and Doc Code Name, all other columns will default, if desired.
- Existing data that starts with “*/” should not be modified
- To update the Tags for an existing manual card via CSV, you must update the Line No. List column and DocBoss will add the associated tags. You cannot edit existing tags in the Tag List column for manually created cards (as indicated by “*/” at the start of these cells). Any changes to tags should be done using the line no. list column.
- If you want DocBoss to autogenerate your document number, you must enter [generate], include the square brackets, in your document number column.
- Use [ORvalue] to overwrite default primary revision number via CSV upload.
- Use OVERRIDE word inside <Customer>Doc# Manual Changed (or <instance> Doc# Manual Changed) field if you want to update proper auto-generated Doc# value.

- ID (Do not Touch) – This is the DocBoos internal ID. Do not modify on existing data. You do not need to enter anything for new cards (lines)
- Primary Doc Code(ID)- Do not modify on existing data. The number value in the bracket is the Internal ID of the DocCode. You do not need to enter this UNLESS you have duplicate Doc Codes in your Requirements. To obtain this value, you have to navigate to the Code List (Requirements) grid and Download the CSV Template.
- Secondary Doc Codes – Not required, only enter if applicable – Adding secondary codes can only be added to Manually created cards
- Doc Code List – Do not modify existing data or add any data (this will be auto-populated)
- Title – If you do not add anything this will be populated with the Doc Code Title.

If you already have cards set up on the project they will be populated in the csv file. Any columns that contain an asterisk in the header are mandatory columns.
- Primary Doc Code(ID)* – The Doc Code the card is linked to
- Secondary Codes – if there are any additional codes it covers – Adding secondary codes can only be added to Manually created cards – the system will ignore any values entered here for auto-generated cards
- Equipment Number* – what is to be displayed as the reference for the card (typically the name of the major tag field)
- Sub Supplier* – The sub-supplier associated with the item
- Major Tag* – The Major Tag value (if multiple separated by a comma)
- StageList* – The Stage List to be applied to the card
- <INSTANCE> Doc #* – The document number
Once all applicable data has been added save the csv file and then use the Import feature. Click the browse button, search for the new file and click save.


