
Blog
Create a Job and Assign It To Multiple Projects With DocBoss
Creating a “Job” allows you to group multiple projects together for reporting and searches. For example, if you have two…

Below is the series of steps along with screenshots of the expedite process offered by DocBoss along with the reporting features and email functionality.
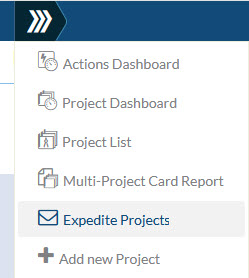
Expediting is done in a global sense, not from within each project. You can of course choose to expedite only one project, but the function is accessed from the high level menu under the logo.
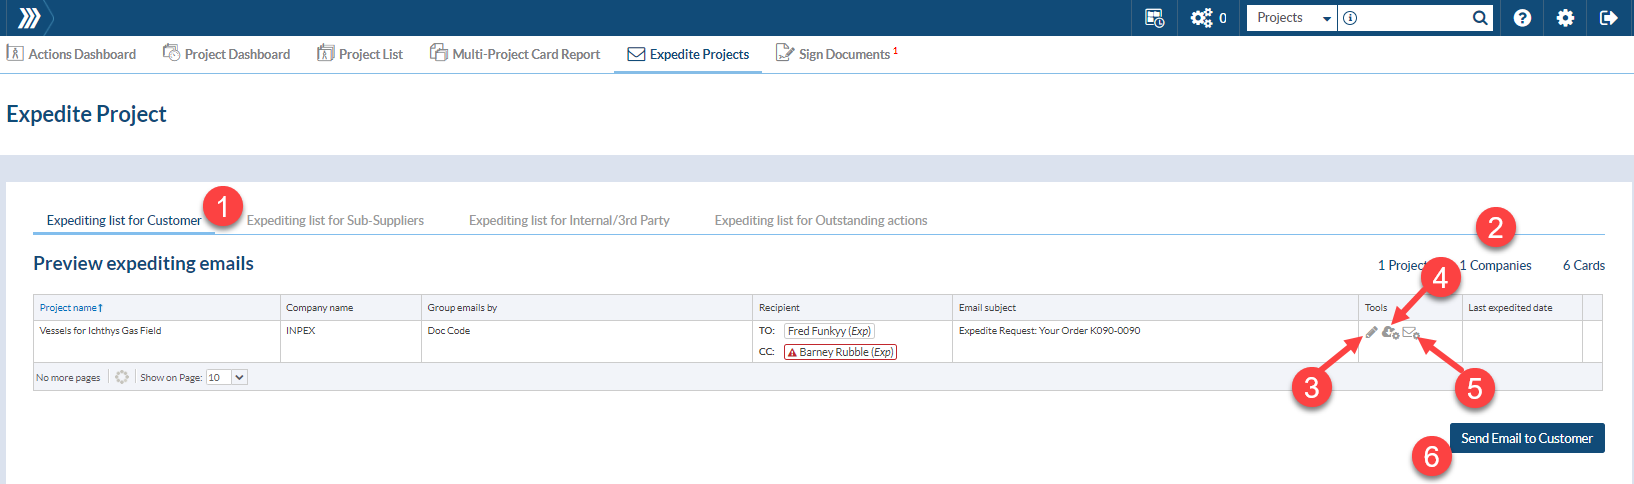
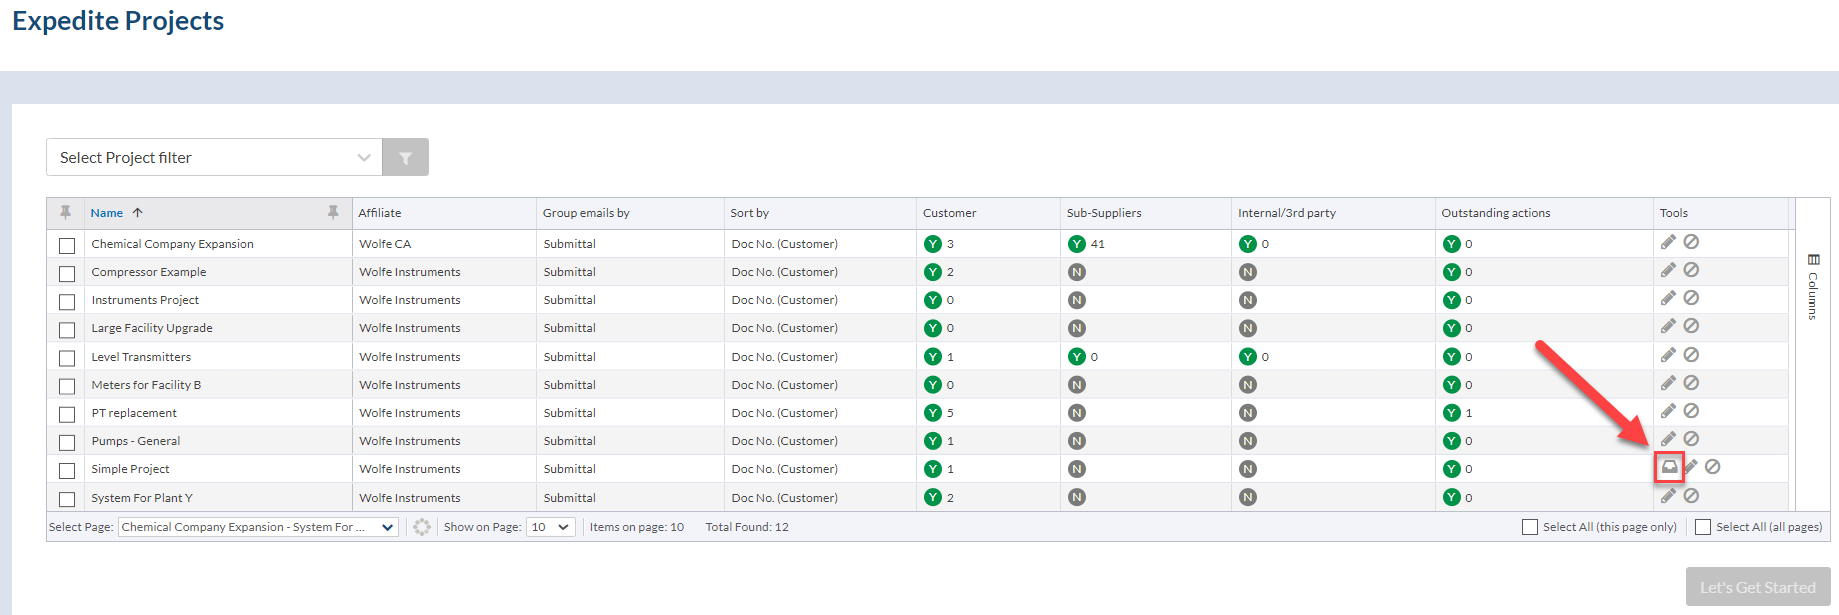
Once on the Expedite Projects screen, you will see all projects which are ENABLED for expediting.

On clicking view, you will be taken to a summary page showing EVERY expediting email which will be issued to your customers. You can preview the reports, and the actual emails.
*Some additional information about the data included in the reports:
For due dates: If there is no expected return date in the system, DocBoss will populate the value with the Customer Due Date value.
If the Card is Order Level by default, the Sub-Supplier it’s set to the internal company (even if there is only one Sub-Supplier). So, if the report has to be sent to one Sub-Supplier, the Sub-Supplier has to be Overwritten on the Card.
There are several options to overwrite the Sub-Supplier on the Card List:
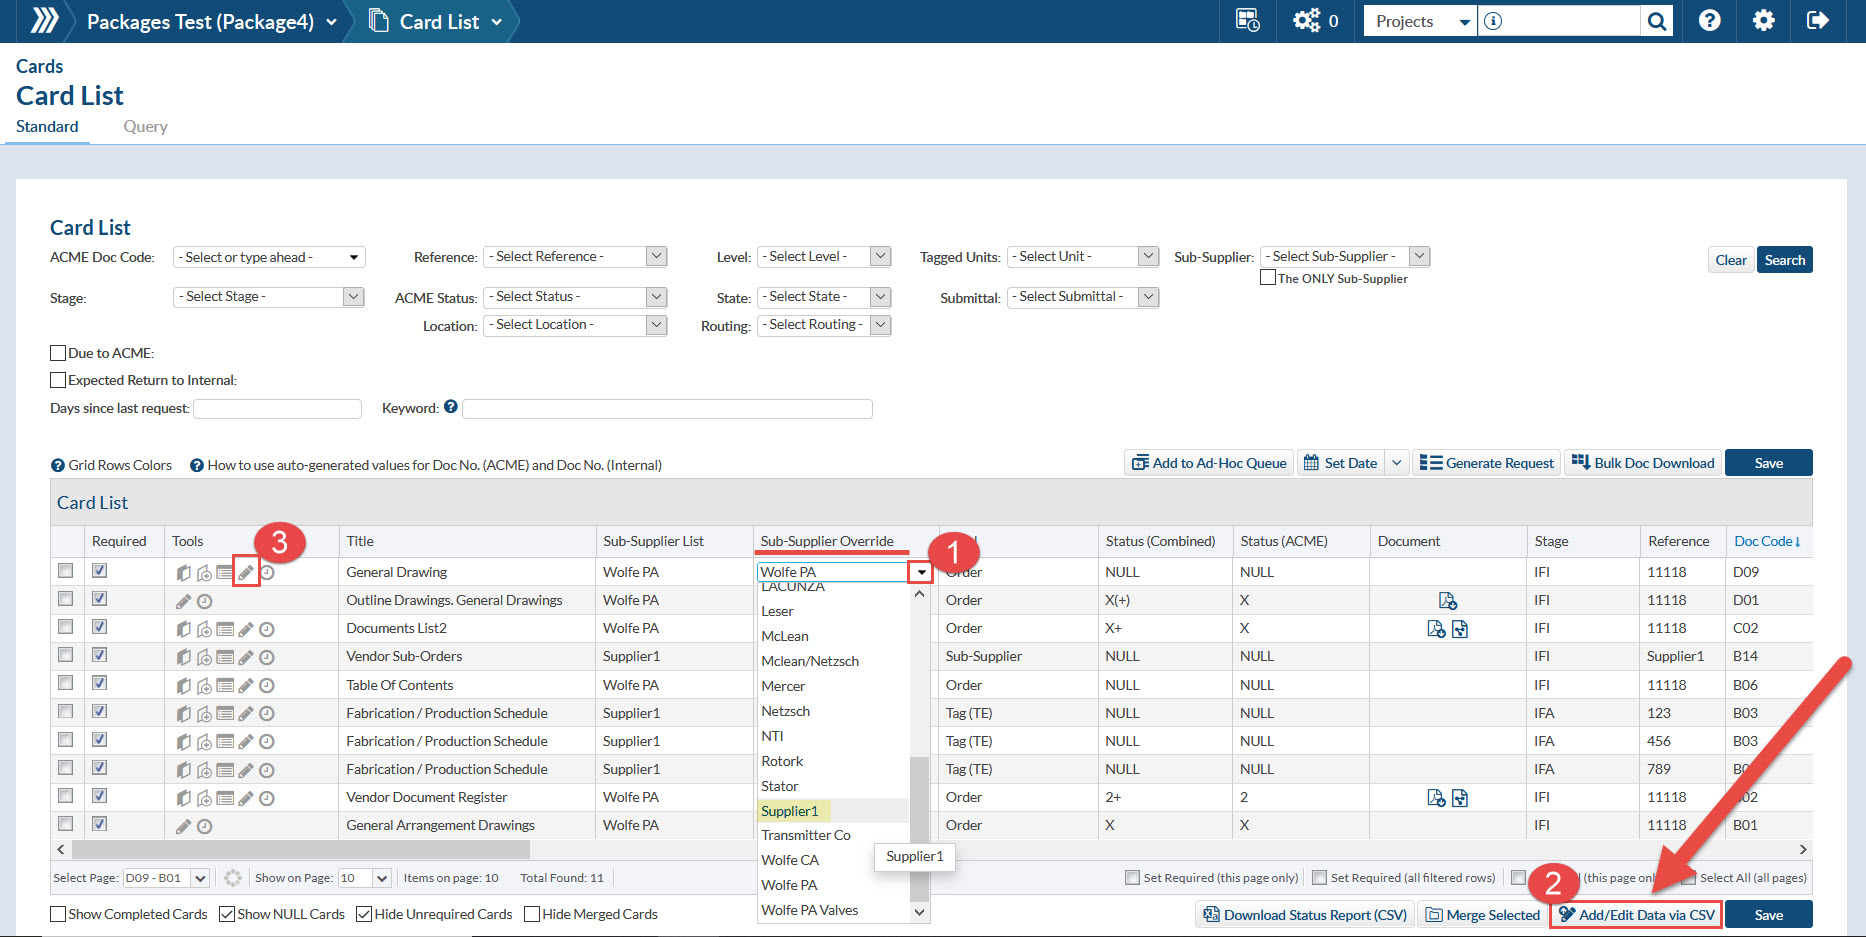
1. Choose the Sub-Supplier from the “Sub-Supplier Override” column drop down.
2. Change the Sub-Supplier Override data on the CSV and upload it using “Add/Edit Data via CSV”. For more information about editing cards via CSV please check out the article: Edit Cards via CSV file.
3. Overwrite the Sub-Supplier on the Edit Card pop-up.
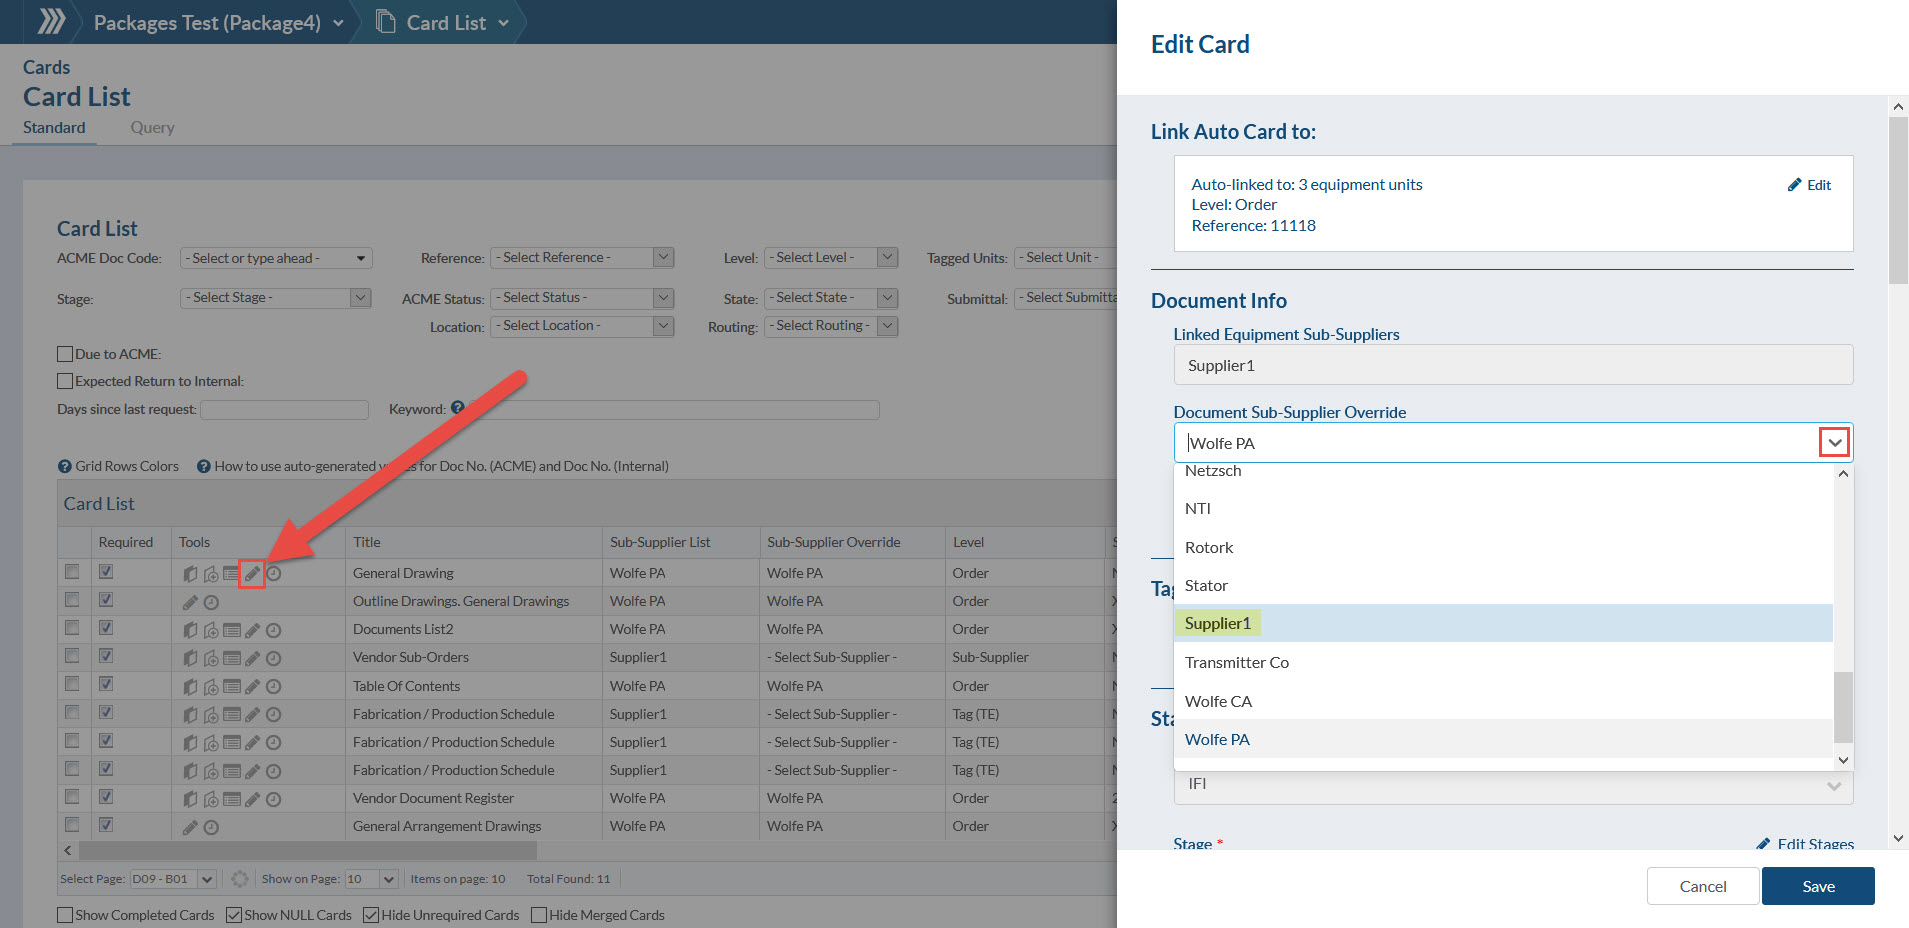
– Click Edit icon under Tools column.
– Select the Sub-Supplier from the “Document Sub-Supplier Override” drop down.
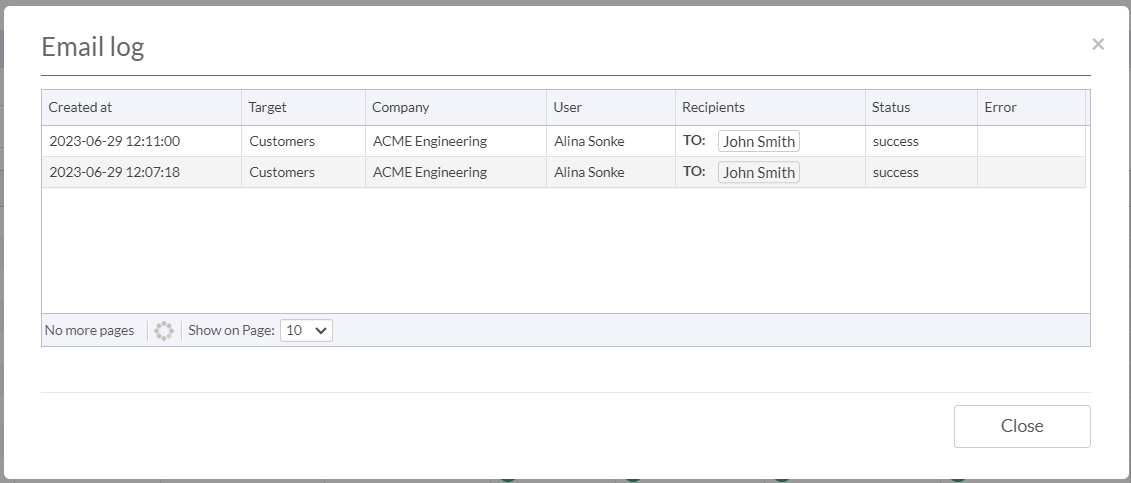
To see the history of sent expedite emails, click on the inbox icon under Tools. This icon will only show if there is a record of sent emails.
Sample log:


DocBoss is the only true document control system for
suppliers. Book a quick demo to see how we help process
equipment suppliers make more profit with less pain.
Creating a “Job” allows you to group multiple projects together for reporting and searches. For example, if you have two…

DocBoss enables you to split a card and also split an equipment list. On auto-created cards, you can split a…

To run an SDI report for multiple projects, you will need to have assigned the “Job” to each of the…